RV Delamination Repair Cost: When a Wavy Wall Isn't Worth Fixing
By Tammy Rourke · September 23, 2026
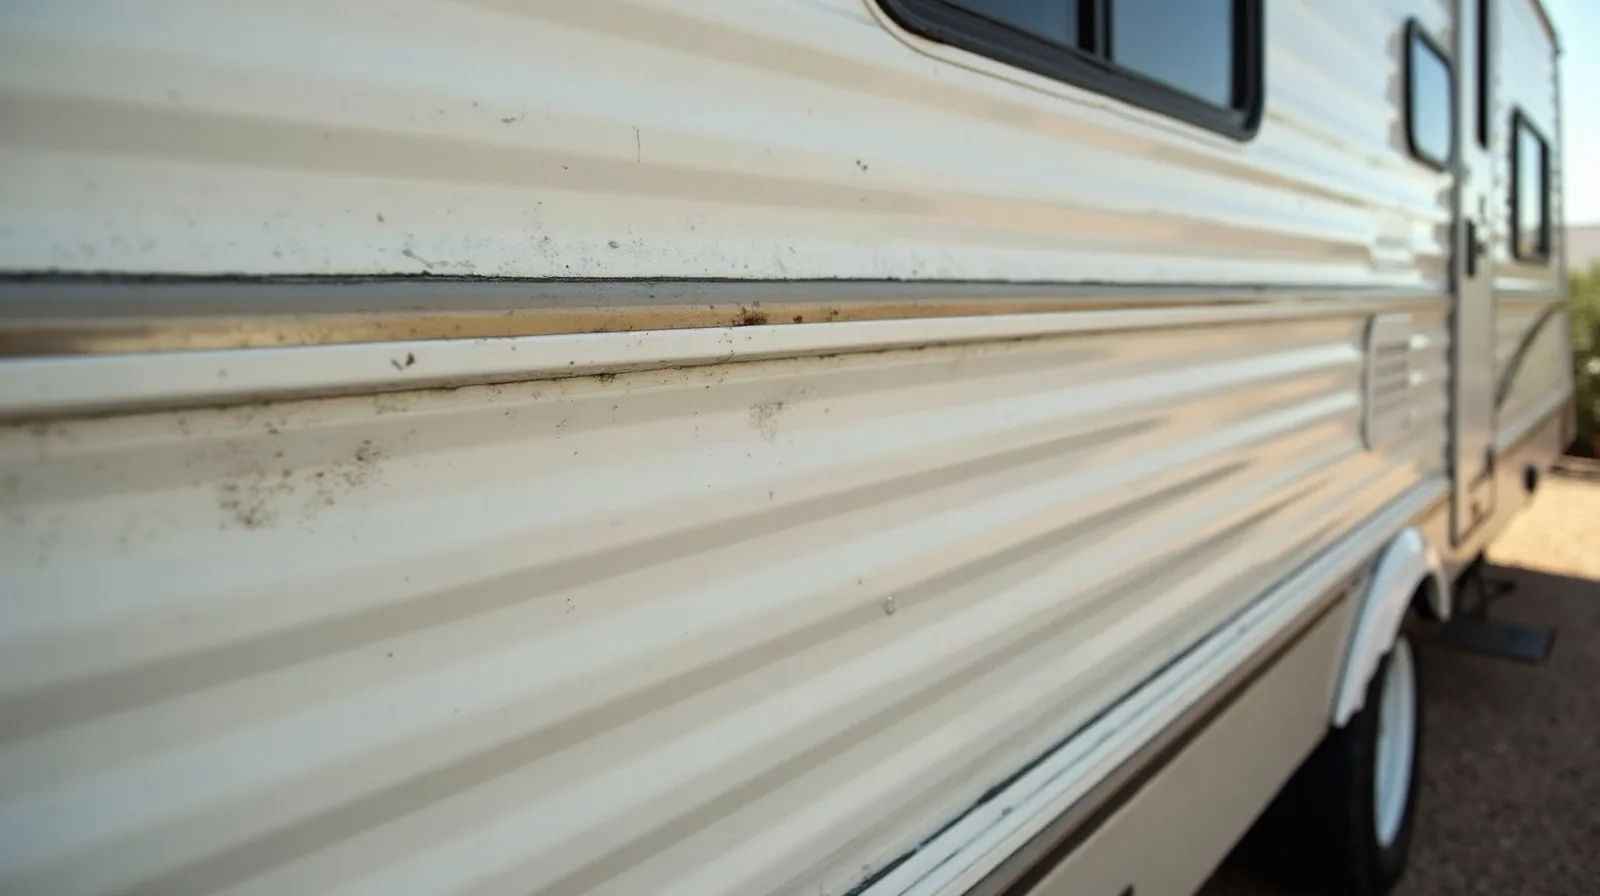
Last March I walked the dog through the Mesa RV park and saw a 2005 travel trailer with a sidewall rippling like a sheet on a windy clothesline. It’s the usual thing the RV repair shops in Phoenix see all the time. Owner was a retired schoolteacher, somebody had told her the wall needed a full rebuild, nine grand. She had no idea the leak had been going for years. I ran my hand across the bubbles and tapped it, got that hollow cardboard sound. Told her don’t fix it. The trailer might be worth eight thousand on a good day. That’s the ugly arithmetic behind RV delamination repair cost, and you have to find the leak before you even think about the wall.
What Delamination Is and How to Spot It
Water gets behind the fiberglass skin and eats the glue that holds it to the luan or the foam board. Then the skin lets go and you see bubbles, waves, ripples. Take a screwdriver handle and tap the wall. A solid wall gives a sharp tap. A delaminated one sounds hollow, like cardboard. Or wait till late afternoon and get low, sight down the side. Any shadow rolling like a soft wave is trouble.
Boats taught me this. A fiberglass hull and an RV sidewall rot the same way. Water finds a crack, a ding, a seam with dead sealant, then the bond fails. Surface stays smooth right up until somebody looks close. A moisture meter will find the wet spots befor they show, but most owners just run a hand over the wall and feel the bubble.
Fix the Leak Before You Touch the Wall
First dollar goes to stopping the water, always. Fix the wall first and leave the leak, you’ll do the whole job twice. Roof seams, clearance lights, window frames, the screws holding the awning rails. Motorhomes leak at the front and rear caps. Travel trailers go first at the corner mouldings and that beltline trim.
I spent a full day resealing a roof once, did every seam, and the real leak was a bedroom slide window frame with a crack in it. Owner paid a shop six hundred to “fix” the wall and the bubbles were back in three months. Spend the time. Pull interior panels if you got to. Chase the water path and seal it with the right stuff: self-leveling sealant goes on horizontal surfaces, non-sag on the vertical seams. If you want the full leak-first sermon, our post on RV water damage floor repair cost explains what soft floors cost to cut out and why you never skip this step.
RV Delamination Repair Cost: Small Areas vs. Full Wall Rebuild
Small bubble, say the size of a dinner plate, the cheapest honest fix is epoxy injection. You drill a pattern of tiny holes through the skin, pump in two-part epoxy, and clamp or brace it till it cures. It’s strong but you can usualy still see the outline when the light hits wrong. Fine for a cosmetic repair on a show trailer, not a a full strength fix.
Big area or structural wall, the skin comes off. Shop cuts out the wet luan or foam, bonds in new material, and puts the old skin back or builds a new sheet. That’s a week or more in a shop bay.
| Repair type | Typical cost range |
|---|---|
| Epoxy injection, small area (dinner plate size) | $500 – $2,000 |
| Epoxy injection, large area (up to 4 square feet) | $1,500 – $3,500 |
| Panel removal and wall rebuild, one wall | $3,000 – $10,000+ |
| Full sidewall replacement on a large fifth wheel | $8,000 – $15,000+ |
Shop rates around Phoenix run $130 to $180 an hour, and a full sidewall rebuild can eat a week or more of labor before materials. The RV repair and body shops in Phoenix with a tall bay can handle it. Most independent shops don’t have the booth to spray a new panel.
Why an Older Rig May Not Be Worth Fixing
You got to ask what the rig is worth if you do nothing. A 2012 travel trailer with one soft sidewall and a spongy floor might sell for four grand as a fixer. Repair bill could hit seven. You’ve spent more than the whole rig will ever sell for, and its still got twelve years of wear on everything else.
I keep it simple with my motorhome. Repair costs more than 30 percent of resale value, I sell it or donate it. Everybody’s number is different. That Mesa schoolteacher had four bubbles on one wall, a soft spot by the door, and a water heater about to croak. Honest answer was don’t fix it. She sold it to some guy who wanted a hunting camp, used the cash as a down payment on a newer used trailer.
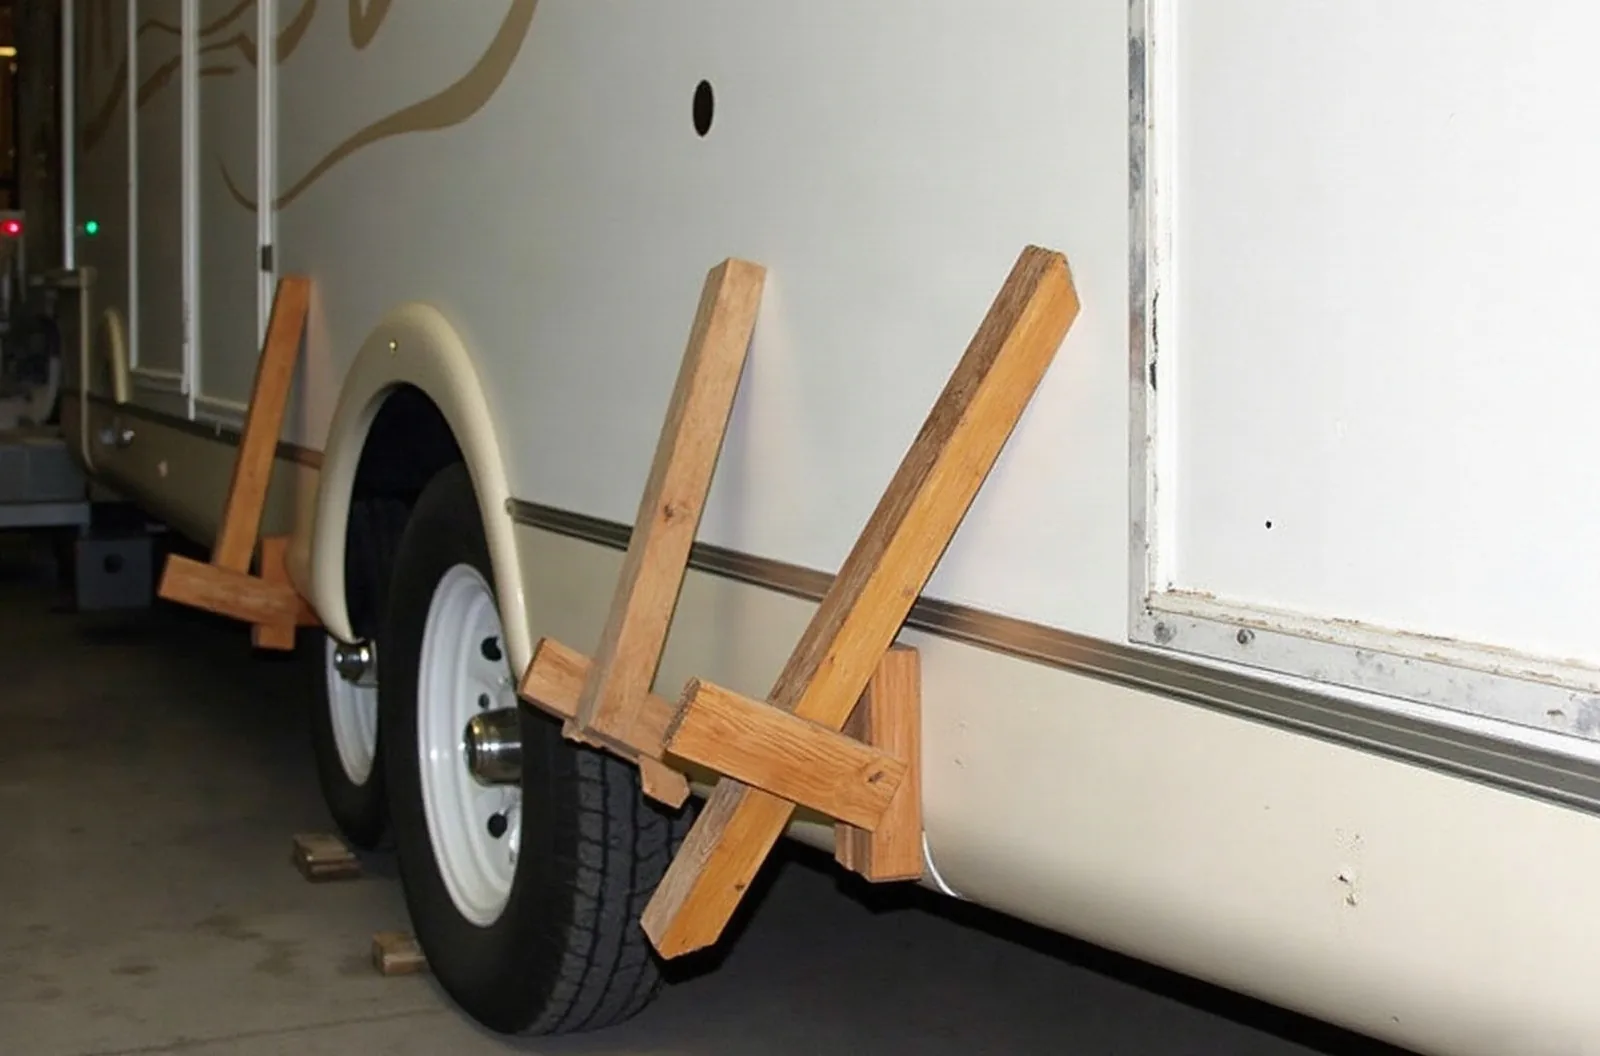
I found a helpful video that walks through the basics of RV delamination repair if you want to see the tools and process.
What Insurance and Warranties Usually Say
Most policies and extended service contracts exclude delamination. Insurance pays for sudden and accidental damage: hail, a branch through the roof, a collision. Not water that’s been seeping behind a wall for three years. They call that maintenance, and the policy is written that way on purpose.
Warranties are the same song. New RV manufacturer’s warranty typically excludes water damage from failed sealant unless you can prove you inspected and resealed on schedual. Saw a two-year-old fifth wheel with a delaminated sidewall denied because the owner couldn’t produce a single roof inspection record. Dealer service writer said “lack of maintenance” three times, like it was a legal phrase. Buying used, get a moisture reading before you sign anything. A pre-purchase inspection costs less than a sidewall.
How to Stop Delamination Before It Starts
The wall fails because the sealant fails. So look at you’re seals twice a year. October before the rains, April before the heat. Run a finger along every roof seam, caulk joint, window flange. Cracked, chalking, pulling away? Reseal it. A tube of self-leveling lap sealant costs about fifteen to fifty bucks. A full roof reseal with a helper and a wire brush is a Saturday.
Butyl tape behind every piece of trim and every window flange is cheap insurance. I re-bed evry window and clearance light on a new-to-me rig in the first year. That’s about sixty to two hundred dollars in materials and one long afternoon. And don’t put silicone on your roof or walls. It fails, then nothing else bonds over the spot where it was, so the next repair costs triple. For a full rundown on what other common fixes run, see our RV repair cost guide.
When a Wavy Wall Is Only a Cosmetic Problem
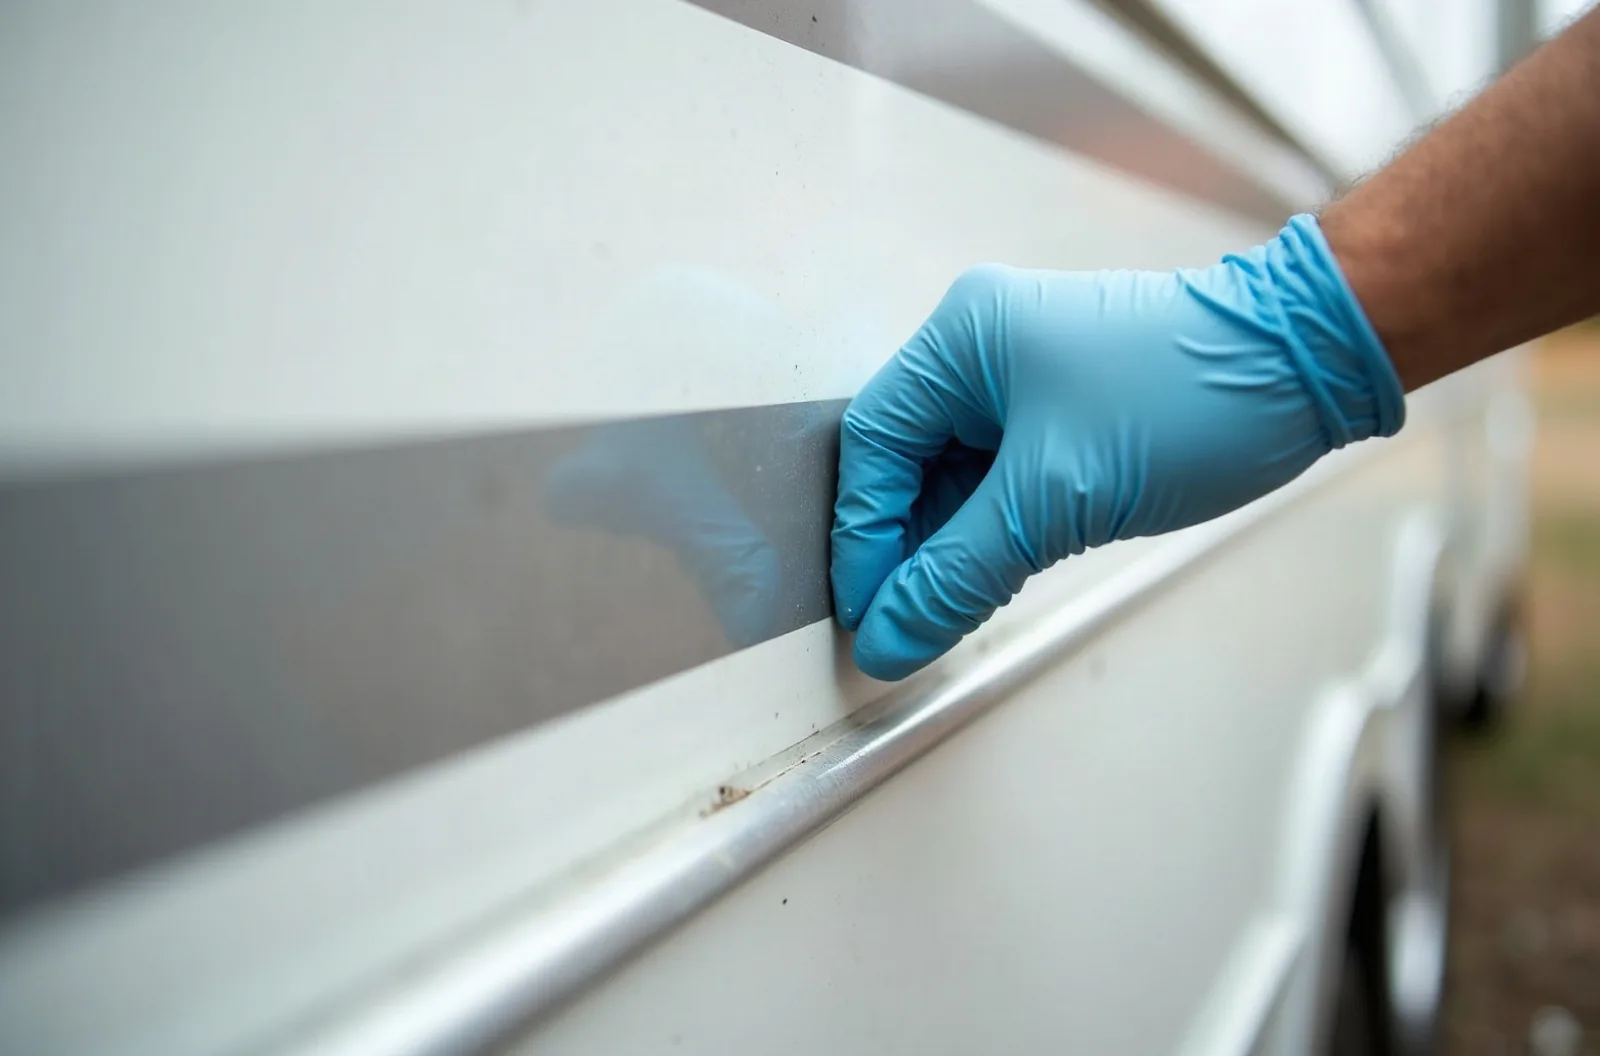
Not every wave is wet. Older rigs with thin aluminum framing will show ripples from hot and cold cycles, no water anywhere. The signs are no bubbles, no softness, a solid tap. If the wall is wavy but dry, leave it alone. Need it to look better, a vinyl wrap or repainting the lower band hides a lot without opening the wall.
My motorhome came with a small wave on the passenger side, right behind the kitchen window. I checked it with a moisture meter and a borescope through the vent hole. Dry inside. Sealed the window, left the wave, called it character. Five years later it hasn’t moved. Not every ripple is rot.
What I’d Do This Weekend If I Found a Bubble
Get out the moisture meter and map the whole wall. Then find the leak from inside, pull the window trim or the vent. If the bubble is small and dry at the edges, I’d drill three tiny holes at the top and inject a thin epoxy. Leave the clamp on for a day. Big, wet, or structural wall, I’d get two shop estimates before spending a dime.
The honest test is blue-book value. Repair estimate bigger than the rig’s worth? Don’t fix it. Sell it as a fixer, donate it for the tax write-off, or park it as a guest room. Not sure, find an RV repair shop in Arizona that sells and fixes delaminated rigs and ask them what the wall is worth repaired versus as-is.
Related reading
FAQ
What is RV delamination repair cost per square foot?
For small epoxy injection repairs, figure roughly $500 to $2,000 for a small area, with the per-square-foot rate depending on the shop. Full wall rebuilds run much higher, often $3,000 to $10,000 or more per wall because the skin has to come off, the backing gets replaced, and the surface repainted. Local shop rates move the number.
Can I fix delamination myself with epoxy injection?
Yes, on a small bubble with dry backing you can do a DIY injection. You need a two-part structural epoxy, syringes or an injection gun, and the patience to drill a grid of small holes. Clamp or brace the wall while it cures. The repair looks better than a big bubble but it wont be perfect.
Will insurance pay for RV delamination repair?
Usually not. Insurance covers sudden and accidental damage like hail or a collision. Delamination is long-term water intrusion, and most policies call that maintenance neglect and exclude it. Most extended service contracts do too. Read your policy and ask before you file.
Is a wavy RV wall always delamination?
No. Some RVs show minor skin waviness from temperature changes or thin framing and there's no water damage. Test with a moisture meter and tap for a hollow sound. Dry and solid means it might be cosmetic. Bubbles or a soft wall, that's delamination.
How long does a delamination repair take?
A small epoxy injection can take about a day at a shop, plus cure time. A full wall rebuild can take a week or more because the old skin has to come off, wet backing replaced, and the wall painted. During peak season many shops are booked weaks out for this work.
Should I buy an RV with a delaminated wall?
Only if the price reflects the repair and you understand the leak that caused it. Get a moisture meter reading first. If the rest of the rig is sound, you might get a deal. But many older RVs with delamination aren't worth fixing at all, so you could be buying a parts rig.
Find RV repair near you
Compare RV service centers and mobile techs in your city, then ask a few for a quote on the job.
Browse by state