RV Body Repair: 9 DIY Fixes and When to Call a Pro
By Tammy Rourke · November 1, 2026
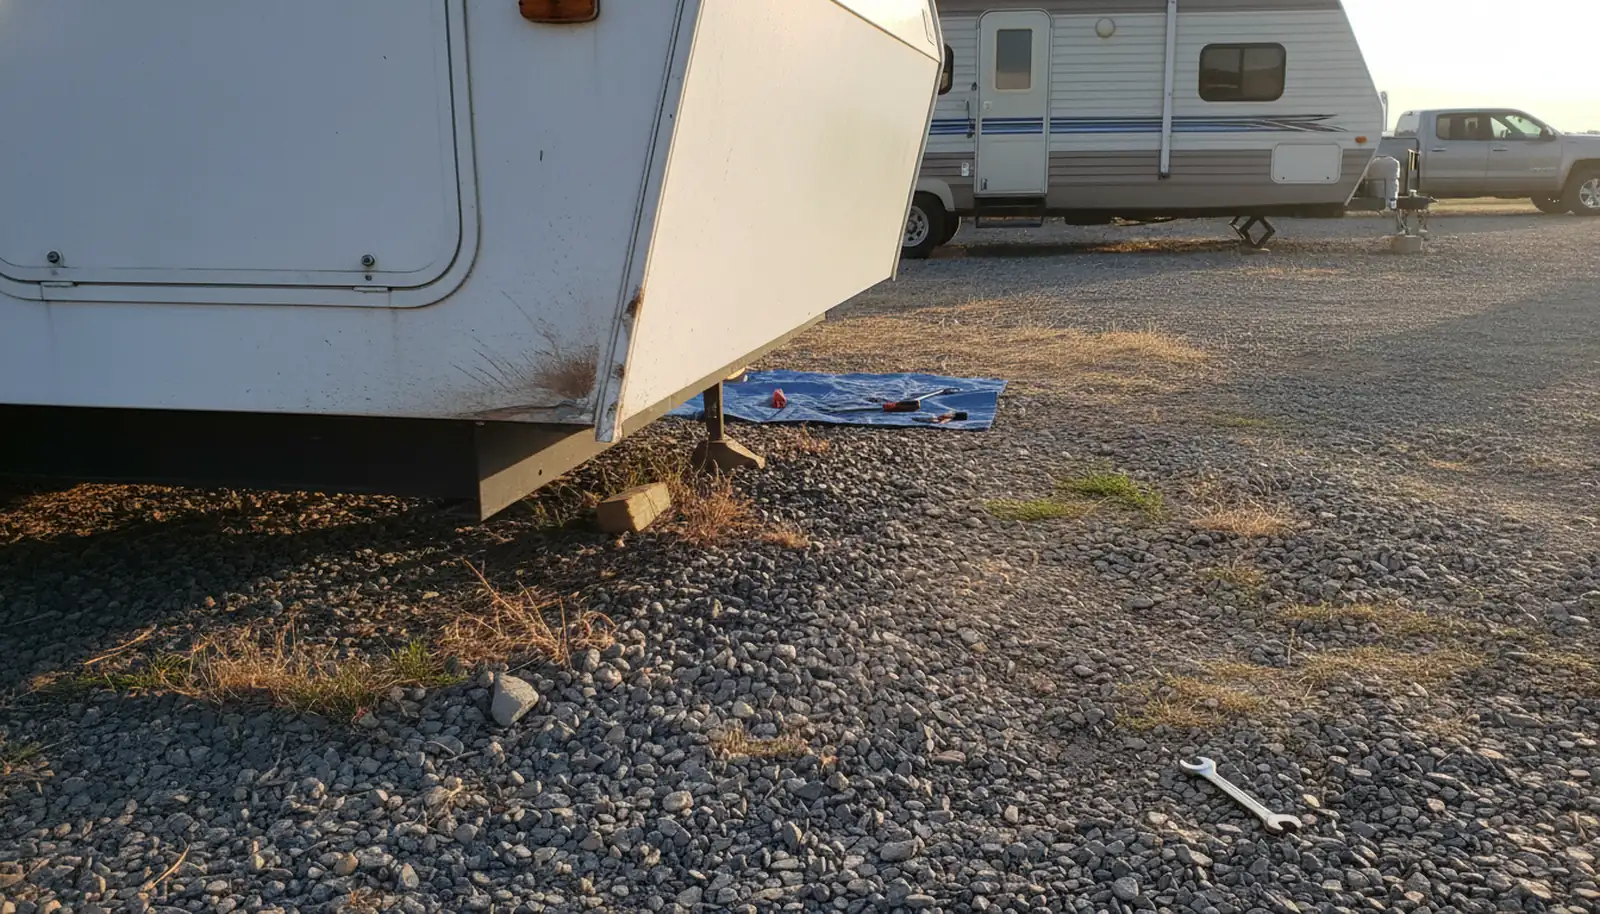
Last July I clipped a gas station pole in Quartzsite with the nose of my Class A. Ripped the lower front cap open about three inches, right at eye level. So I patched it in a campground with a $60 fiberglass kit, sanding and filling between thunderstorm bands. Three months later that repair crumbled, which is when I started looking for RV repair shops in Mesa. Water got behind it. And that little mistake taught me the line between a weekend fix and a body shop job. It’s not where most folks think. For real damage, you need RV collision repair specialists.
Sixteen years in a boat yard doing fiberglass, gelcoat and deck repair before I went full-time. If you’re in the Valley, there are plenty of RV repair shops across Arizona that list body work. But ask what they actualy do in house before you drag a rig across town.
This is the nine repairs Ive done myself on my own rig and friends’ rigs, with the exact spot where I tell someone to stop and call a pro, like a mobile RV repair in Mesa tech for jobs you can’t tow.
1. Small gelcoat chips: DIY, $20 and an hour
A chip in the gelcoat from a rock or a dropped awning rod is the easiest body repair on an RV. And if the rod did more damage, look into awning repair in Mesa before you patch the wall.
The line I draw is hairline cracks or chips with spider webbing around them. That means the gelcoat has started to release from the fiberglass behind it. Patching the surface just hides the failure. A shop can grind it out and re-spray, but on an older rig I’d rather seal it and let the crack show than pay $300 a panel for paint. While you’re at it, check if the RV AC repair in Mesa shops can bundle the work. If the crack leaks into the wall, stop, and read up on how to repair RV roof leaks before you touch it. Water damage behind gelcoat is a frame and lamination problem, not a chip.
2. Scratches and scuffs: compound first, always
Clear coat scratches from a branch or a shopping cart can usually be polished out if you can’t catch a fingernail in them. Cost is about $10 a bottle for compound and $20 for touch up. Scratches down to bare metal, like on an aluminum skin travel trailer, I clean with a degreaser, then use a self-etching primer before the touch up paint.
3. Small fiberglass gouges: two-stage RV body repair, no shortcuts
A gouge is a chip with depth. After the resin kicks, I fill with a fiberglass-reinforced body filler, sand, then gelcoat or paint. Materials run $50 to $100 for a small kit with mat, resin, filler and sandpaper. A screwdriver can check for soft wood behind the hole. If the wood is wet or soft, that’s a body shop job, probably with the cap off.
4. Dented aluminum skin: small dents can be massaged, holes can’t
Aluminum skin on a travel trailer or an older Class C can take a soft dent from a ladder, a softball, or a locked brake slide into a tree. An hour of work. If the hole is bigger than a fist or on a curved section, a shop needs to weld a panel in and match the paint. Runs $500 to $1,500.
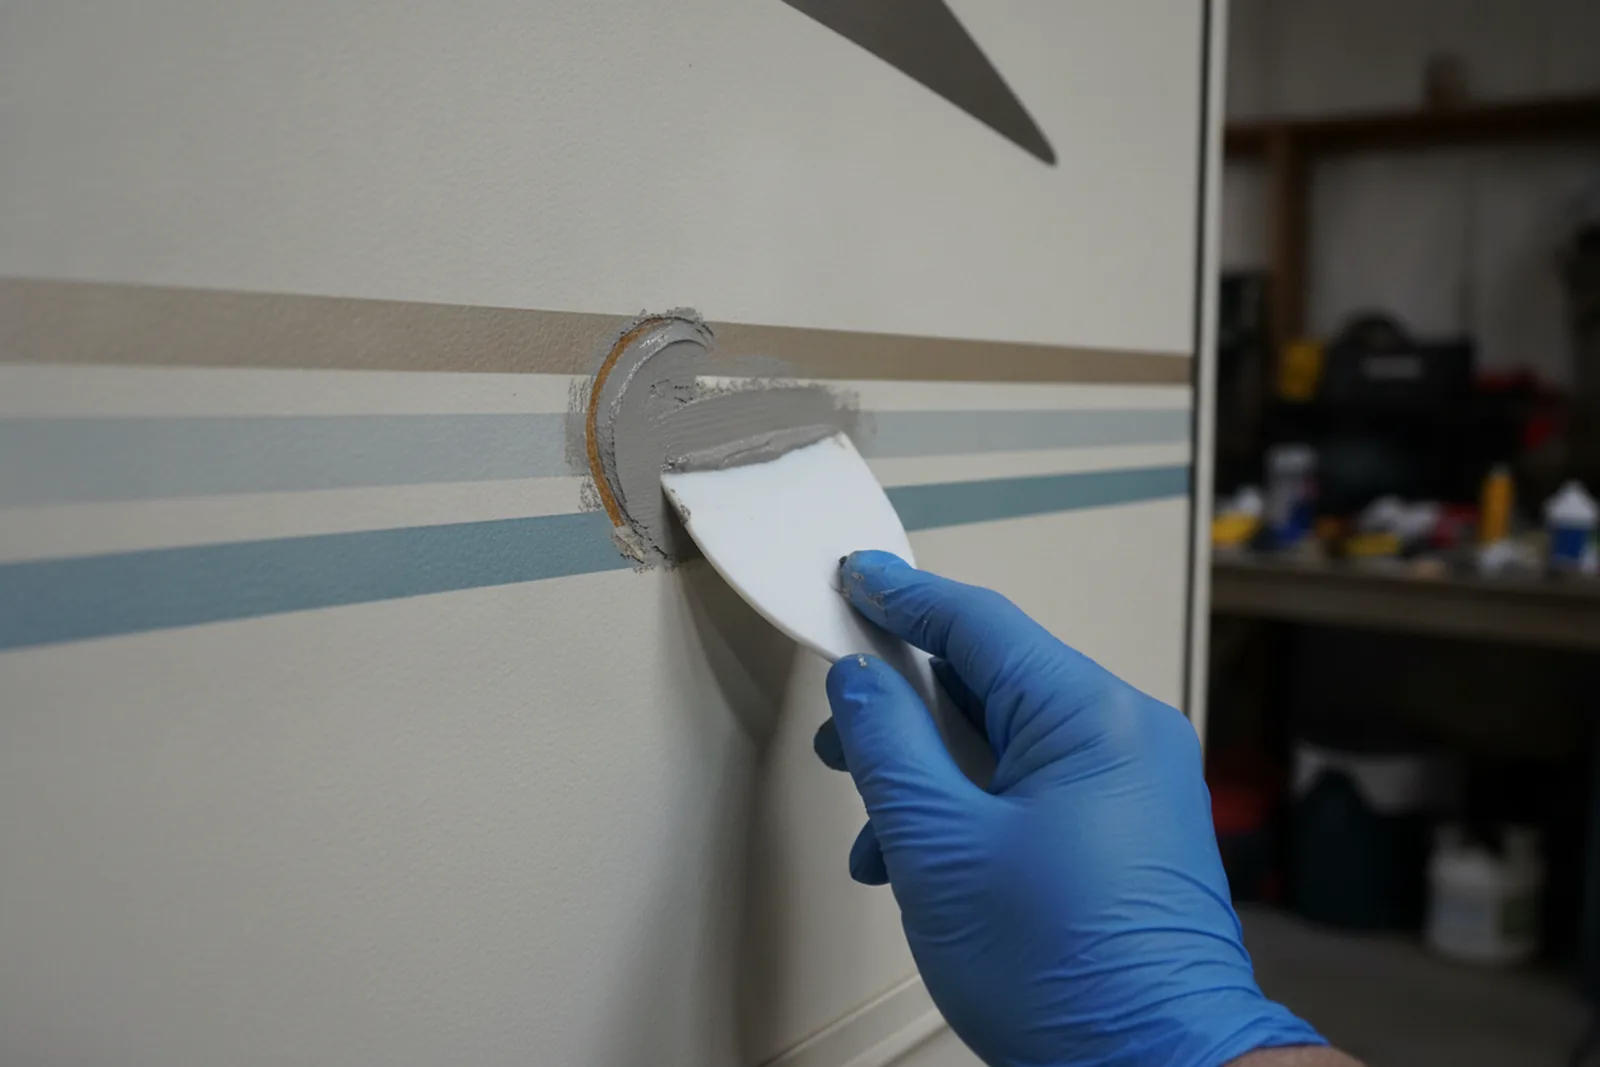
I found a helpful video that shows the proper way to repair fiberglass damage on an RV.
5. Cracked plastic trim and marker lights: cheap, then expensive
Most travel trailers and many motorhomes use plastic for roof edge trim, corner caps, wheel well trim, and marker lights. A shop will charge an hour labor just to unmount and remount a trim piece, so roughly $100 to $200 plus the part. The line is this: if removing the cracked trim exposes a leaking seam or a soft wall, stop. The plastic was just a symptom.
6. Loose or missing corner moldings: seal everything underneath
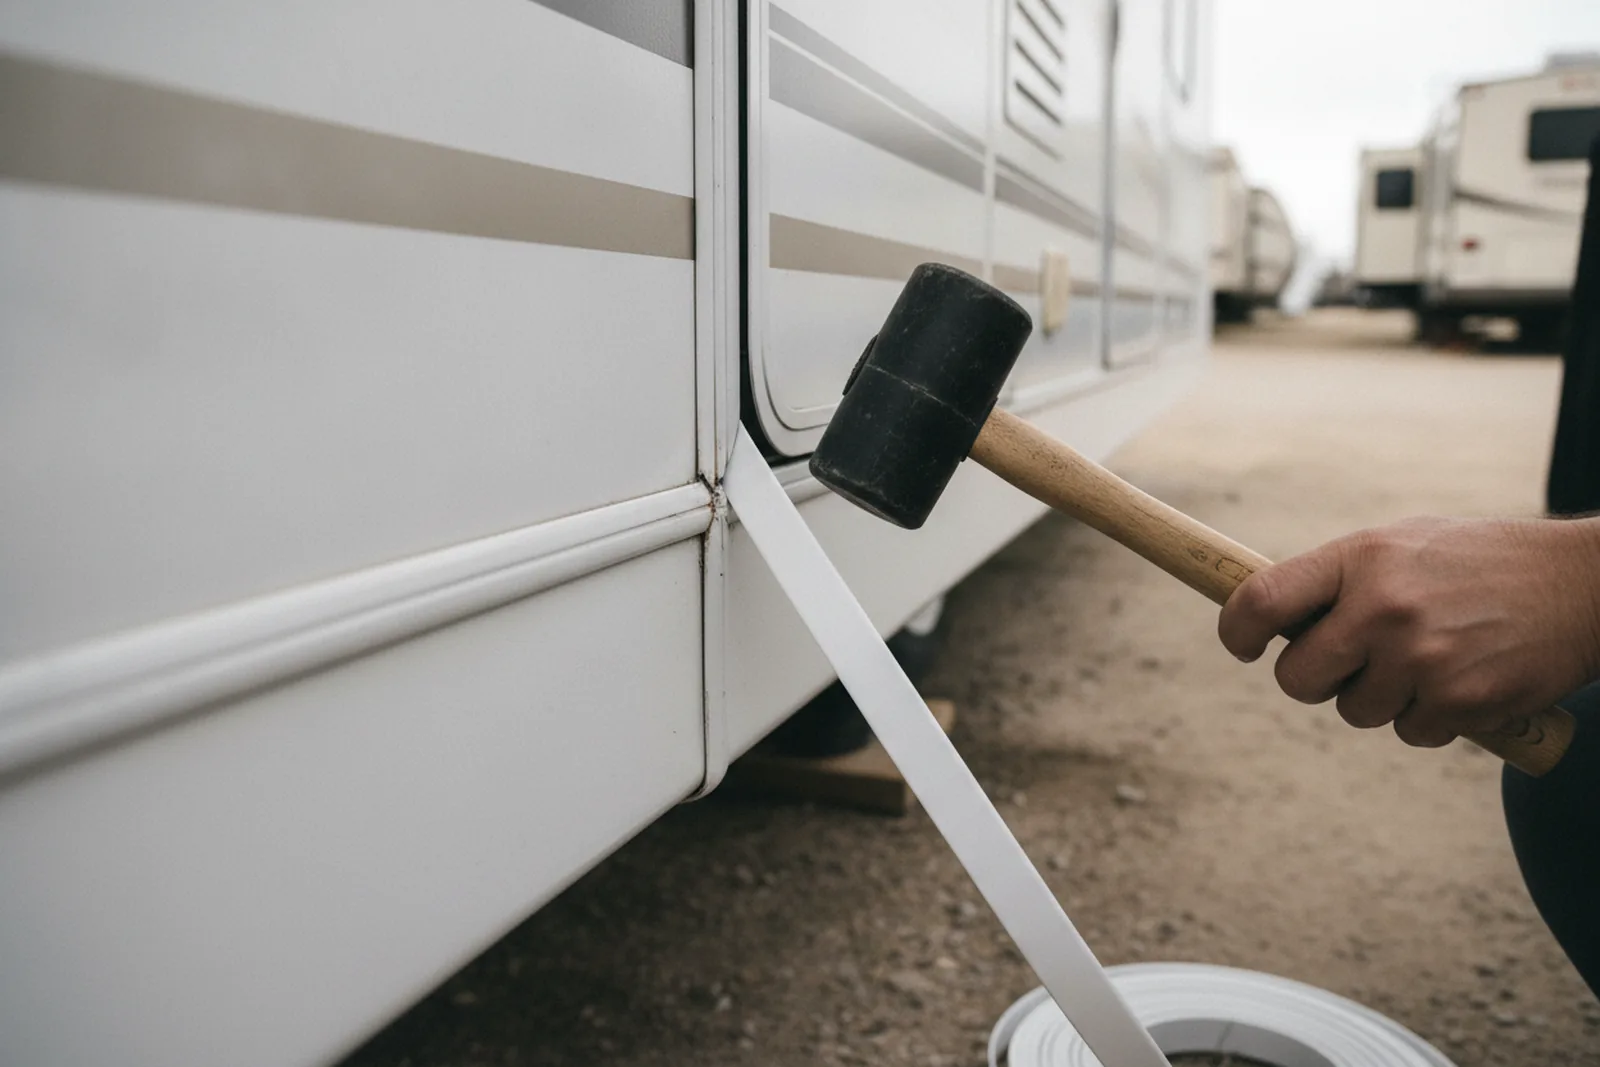
The aluminum or stainless corners on the back of a travel trailer or toy hauler take a lot of rock hits and tree scrapes. If the molding is crushed or torn, a new extrusion is $30 to $80 a foot, and you’ll need to cut and fit it. A shop charges roughly $100 to $200 to do one corner. The line: if the rear cap is cracked under the molding or the floor at the corner sags, the frame might be bent. That’s a body shop estimate with a tape measure, not a tube of caulk.
7. Damaged fender skirts: replace, don’t repair
Fender skirts, the plastic wheel well trim covers on travel trailers, crack from tire blowouts and from the occasional curb. An hour. The first time I did one, I got the wrong side from a discount parts place and had to cut the wheel opening to fit. Don’t be cute. Match the exact part number or take the old one to the parts counter.
If the fender skirt is cracked because the tire scraped it, check the suspension. A sagged spring or a broken shackle will just break the new skirt. A mobile tech’s suspension inspection is about $100 to $175 plus the trip charge. New suspension or axle work is thousands, but a new fender skirt is cheap, so fix the problem first.
8. Minor cap cracks: the one where gelcoat habits help
The front and rear caps are big fiberglass moldings, and they get stress cracks at the corners, around windows, and where the cap meets the roof. An afternoon.
But a cap crack near the roof seam is often a structural flex crack. It will come back. The roof seam, the metal channel that ties the cap to the roof, is a body shop item. They’ll want to repair the crack and and then re-fasten and seal the seam, which is often $500 to $1,500. If you see stained headliner inside behind the crack, the leak started weaks ago. That’s a headliner removal and rot inspection, and the cost explodes.
9. Stone chips on the front cap: the rock guard test
Every motorhome and fifth wheel nose collects stone chips from highway work zones and dirt roads. If the chips are only in the clear coat, a good shop can cut and polish the clear, roughly $300 to $600. I tell people to carry a small bottle of touch up paint and fill the worst chips on a cool morning befor they rust or absorb water. It’s not a fix, it’s a holding action.
Now, the insurance angle. Comprehensive coverage usually pays for stone chips if they come from a covered event like gravel kicked up on a road, but there’s a deductible, so check your policy. A $500 repaint might not beat your $1,000 deductible. Ask your agent abotu separate glass and rock chip endorsements. Many RV insurers offer them for the front cap, but check your policy.
The $5 chalk test that saves you a wall
If you’re not sure whether a crack or chip is letting water in, buy a stick of sidewalk chalk, crush a little on the crack, and watch it after the next rain.
I’ve botched enough of these to know the difference between a good repair and a good story is the prep. Start your bigger jobs by looking up RV collision repair in Mesa and asking for a written estimate with a moisture-meter reading. That number tells you what the pretty paint is hiding. For everything else, keep a tube of sealant and a roll of butyl tape in the bay, and look up mobile RV repair in Mesa for the roof RV AC repair in Mesa and RV awning repair in Mesa jobs before the monsoon season.
More from the shop floor
FAQ
How much does RV body repair cost per hour?
Body shop labor for RVs runs roughly $100 to $200 an hour, with $130 to $180 typical in larger cities. Body repair often has a minimum of one or two hours labor plus materials and paint. Always get a written estimate that separates labor, materials, and paint, and ask for a call before any work over the estimate.
Does insurance cover RV body damage?
Comprehensive and collision coverage usually pay for sudden, accidental damage like hail, hitting a pole, or a tree branch falling. You pay the deductible. Policies usually exclude wear and tear, and damage from long-term water intrusion, rot, or delamination. Check your policy or call your agent before you start a repair.
Can I repair delamination on an RV wall myself?
Small areas of delamination, where the outer skin has separated from the backing, can sometimes be fixed with a two-part epoxy injection and clamping, but it's a two-person job and costs about $500 to $2,000 for a professional. Large areas need the wall skin removed and rebuilt, $3,000 to $10,000 or more per wall. I'd call a body shop for anything bigger than a dinner plate.
When should I replace an RV fender skirt instead of repairing it?
Replace a fender skirt when the plastic is cracked through, the mounting tabs are broken, or the skirt has warped from heat. A new skirt is usually under $100 and takes about an hour to bolt on. If the tire that damaged the skirt is still touching it, fix the suspension first, or the new skirt will crack too.
How do I know if a gelcoat crack is leaking?
Clean the area and let it dry completly. Then tape a clear plastic sheet over the crack with painter's tape on all four edges. On a sunny day, watch for condensation or darkening inside the tape. If water appears, the crack goes through. Another sign is a soft spot or a stain inside the wall directly behind the crack.
What should a written RV body repair estimate include?
A good written body repair estimate separates labor hours and rate, parts, paint and materials and any shop supplies or hazmat fees. It should say whether the work includes drying out water damage, and a warranty on labor and paint. Ask how the shop checks for hidden water damage, like a moisture meter reading or a borescope.
Find RV repair near you
Compare RV service centers and mobile techs in your city, then ask a few for a quote on the job.
Browse by stateOr jump to: RV collision & body repair · Jacksonville, FL · Yuma, AZ · Albuquerque, NM