RV roof repair kit: an honest review of what's in the box
By Tammy Rourke · November 1, 2026
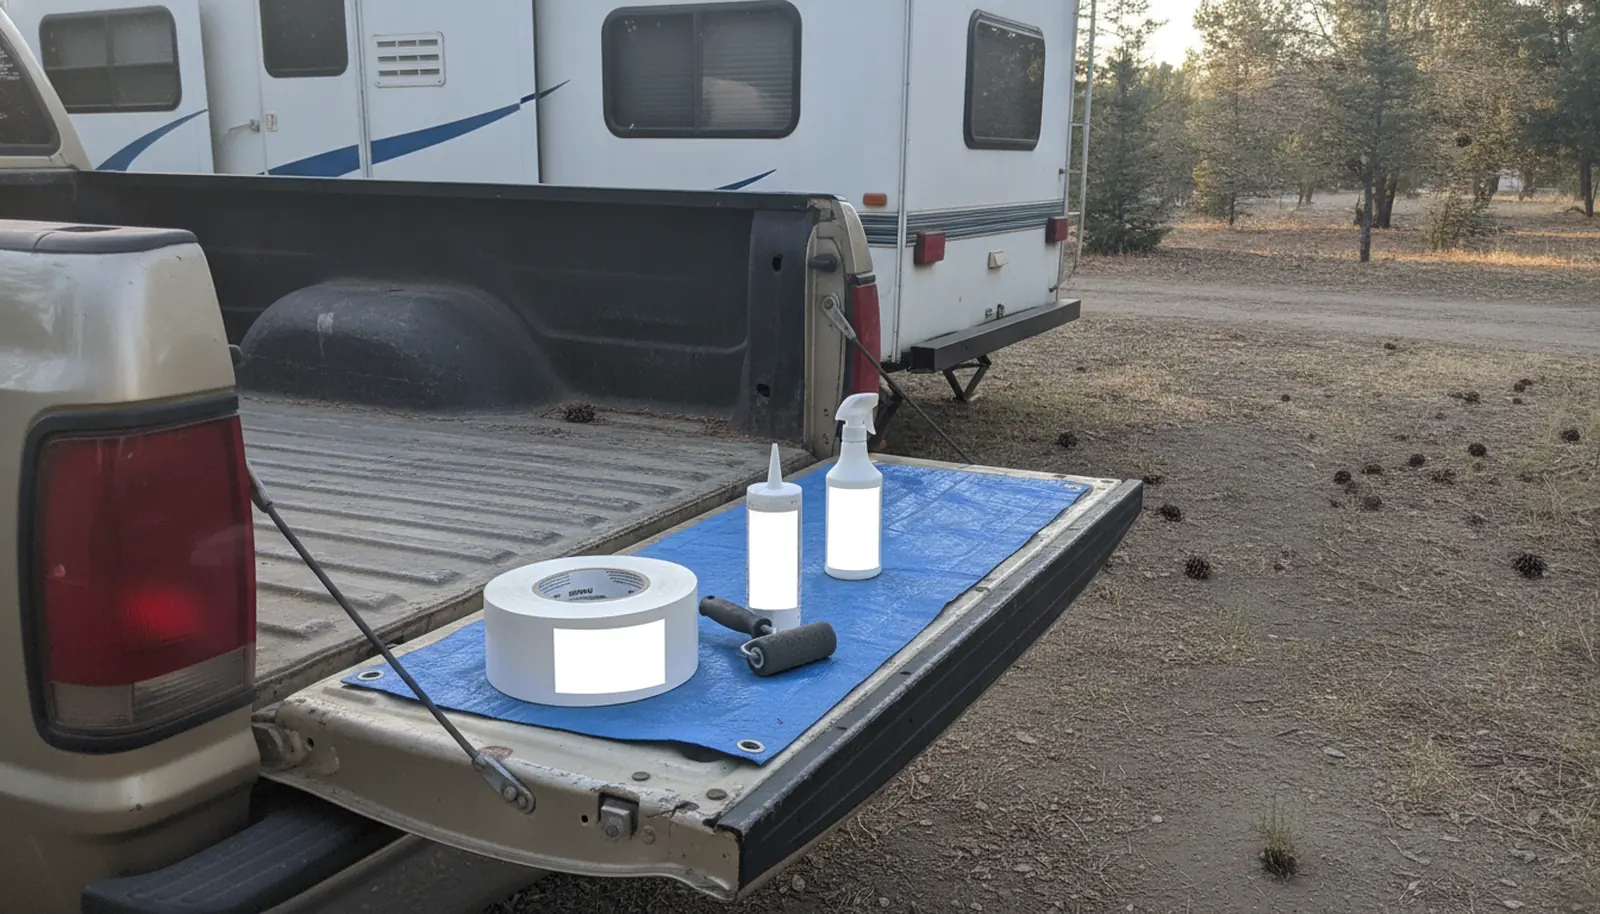
Last summer I parked the rig in the driveway after a loop through the Superstitions and my neighbor waved me over. Two-inch tear in the roof membrane, right near the awning rail. I’d caught a low branch backing into a site in Payson. My first instinct was to grab a roof repair kit off the rack at the local RV parts counter. Then I actually stopped and checked what RV roof repair shops in Mesa would charge for a small patch. Quotes came back $350 to $600. So I bought a $60 kit and did it myself on a Saturday morning. Worked fine, but only because the decking under that tear was still solid.
What’s actually inside an RV roof repair kit
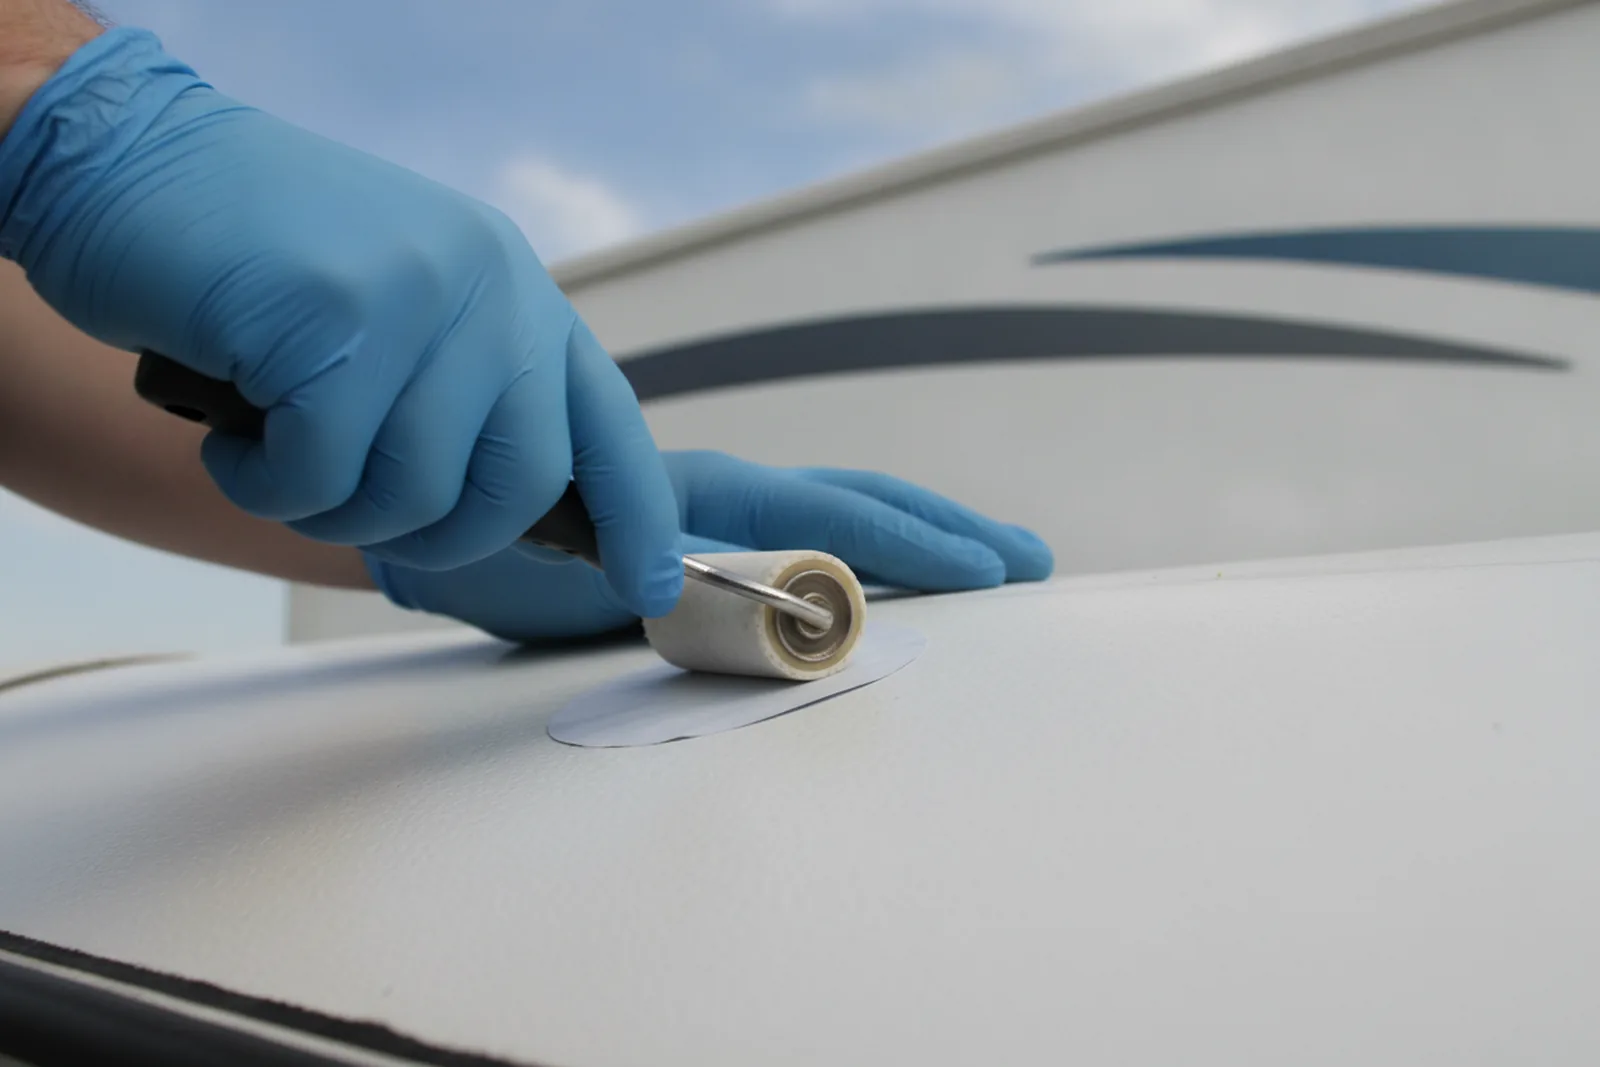
Open one up and you’ll find the same four or five things every time. A roll of butyl-backed seam tape or a peel-and-stick patch, a tube or caulk cartridge of lap sealant, a small bottle or wipe pack of cleaner, a plastic roller to press the tape down, and maybe a primer or adhesion promoter. The fancier kits throw in a scrub pad, gloves, or a second tube of non-sag sealant for the edges.
You’re paying $40 to $90 for convenience. I’ve opened a kit and found the sealant dried solid in the tube. Another time the tape’s paper backing wouldn’t peel without tearing. One roller snapped the first time I leaned on it.
If you’re near home and have time, that same $60 buys better materials piece by piece. But at 9 p.m. On a Sunday in a campground, a kit beats a tarp and a prayer. When I compare, I start with RV roof repair specialists nationwide. For a secound price check I look at mobile RV repair in Mesa. It’s worth a look at RV AC repair in Mesa too. I also keep RV awning repair in Mesa open in another tab. When I compare, I start with RV collision repair in Mesa.
What a kit fixes well, and what it cannot fix
A kit handles a puncture or slice in the membrane. Branch poke, an aerial that tipped over, a small tear at a seam. That kind of thing. It will not fix anything below the membrane. And it won’t fix widespread cracking from UV damage. If the membrane is chalky with hairline cracks every few inches, the roof is dying and tape won’t bring it back.
Leaks you haven’t found are another trap. I once taped a vent seam, felt pretty good about myself, and then found the real leak at a roof rack screw four feet away. A kit is only as good as the leak detection behind it, which is where the real decision starts.
Kit vs separate parts vs a shop patch
The pieces inside a kit are commodity materials. But the compatibility guesswork is done for you, and that’s the real advantage. A kit made for TPO at least won’t fight you on the chemistry.
The table below breaks down the three options. Prices are what I’ve seen in Mesa and on the road; your local rates will vary.
| Option | Typical cost | Best use case |
|---|---|---|
| RV roof repair kit | $40 to $90 | Small hole or tear, away from home, want it sealed today |
| Separate parts (tape, sealant, cleaner, roller) | $50 to $130 | Multiple repairs, prefer to use known brands, near home |
| Shop or mobile tech patch | $200 to $800 | Larger tear, hard-to-reach area, suspected deck damage, want a warranty on labor |
My rule of thumb: if the hole is smaller than my spread hand and the deck feels solid, a kit or seperate parts will work. If I have to get on a ladder to inspect properly, or the patch is bigger than a dinner plate, or the area around it gives under my thumb, I call a mobile tech. But that rule only works if the kit matches what your roof is made of.
Match the kit to your roof material
RV roofs are mostly EPDM rubber (black, then coated white or gray), TPO (thermoplastic, also white or tan), fiberglass (smooth, hard, often on newer coaches and some fifth wheels), and older aluminum.
Read the kit label. I watched a friend grab a fiberglass kit for her TPO travel trailer. The cleaner streaked the roof white. We had to cut out the damaged TPO and patch it properly. Expensive lesson all around.
Your owner’s manual or the roof manufacturer’s stamp usually tells you the material. If you cant figure it out, a mobile tech or an RV roof repair specialist can identify it in seconds. For more on how to approach the job yourself, see our post on how to repair RV roof leaks yourself, and when the decking says call a pro.
I found a clear video that shows the steps for patching a tear in an EPDM or TPO roof membrane.
The time I skipped the primer and paid for it
My worst kit failure happened on a patch near the ladder mount. I skipped the primer because I was hot, tired, and the tube looked too small to matter. Big mistake.
The patch peeled at one corner within three weeks. The primer etches the surface so the butyl tape can bite. I re-did the job with the the primer, and two years later that patch is holding fine. Every kit now in my rig includes a separate primer tube, and I use it every time.
Don’t skip the prep work either. Clean twice, dry completly, and roll the tape with firm pressure from the middle out. I use a hard rubber roller, not the cheap plastic one that comes in the box. Prep and primer matter, but none of it matters if you fall off the roof.
Roof safety: don’t become a statistic
This matters more than any patch job.
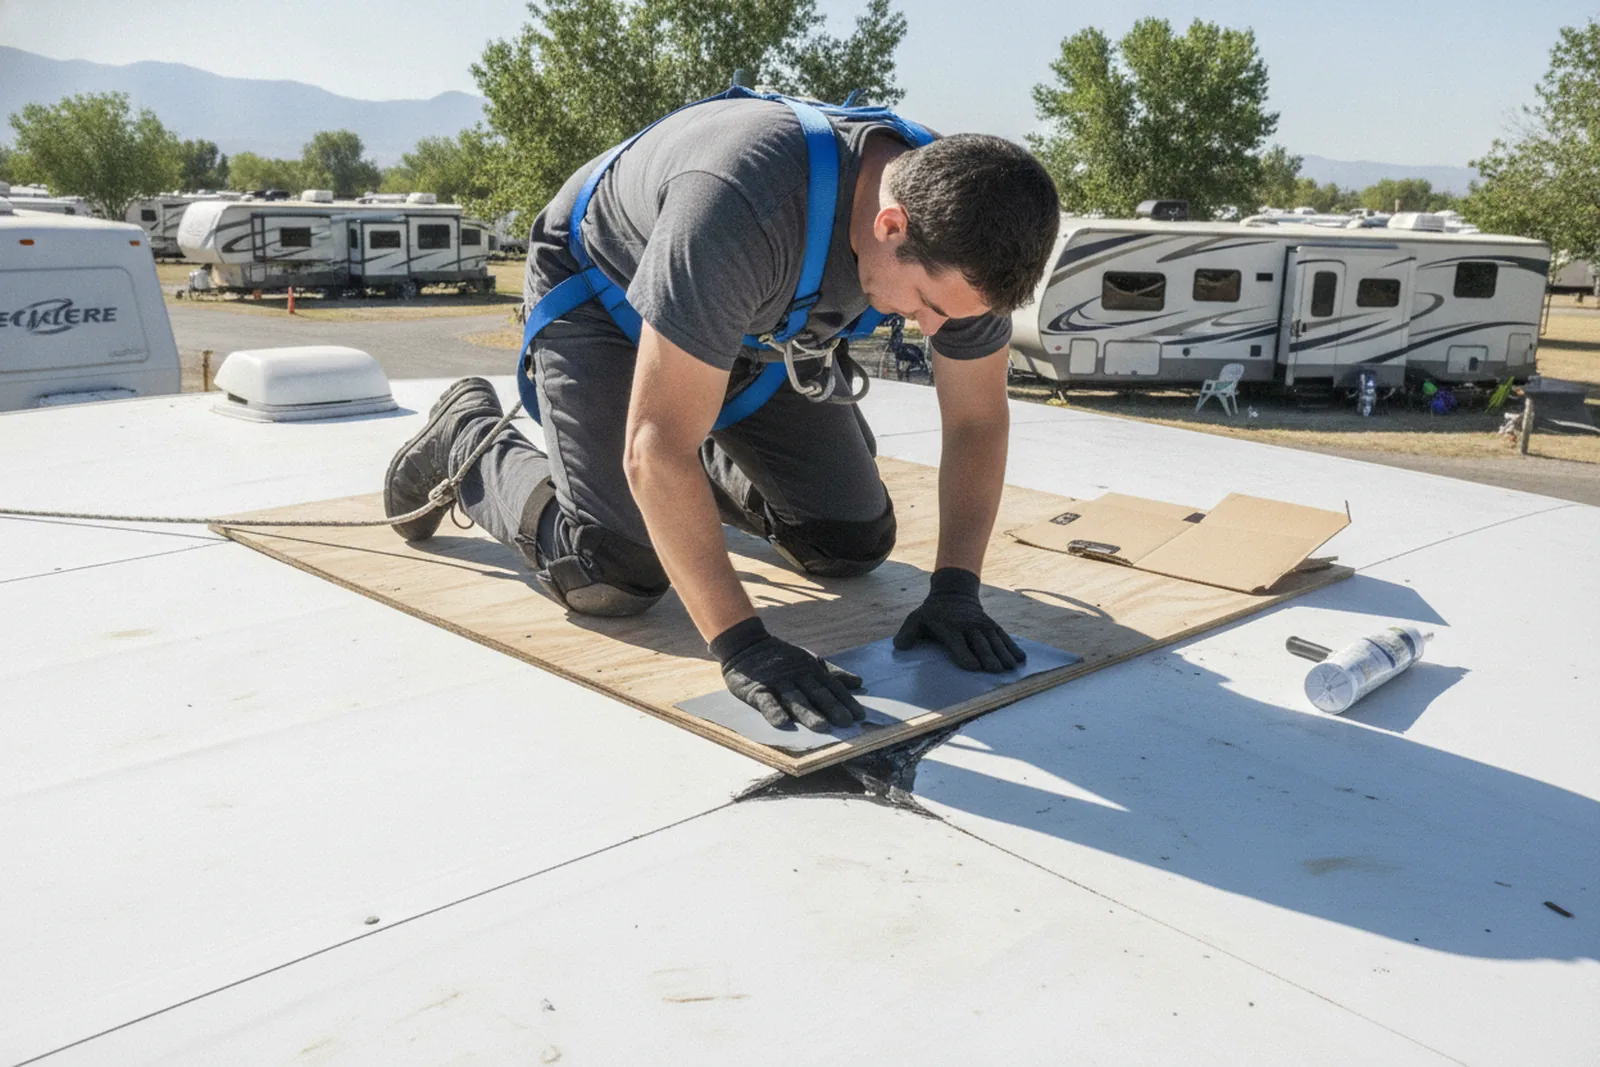
Never work on a wet or frosty roof. Wear soft-soled shoes and a fall-arrest harness if you have one. Move slowly, stay near the edges where the framing is strongest, and keep a spotter on the ground. I use a 12-ft ladder, chock the rig, and put down a piece of 3/4-inch plywood to spread my weight when I need to kneel in the middle.
If you can’t safely reach the tear, or if the roof flexes under your weight, call a mobile tech. The service call fee is alot cheaper than an emergency room visit, and the same goes for a roof that already feels wrong underfoot.
When to skip the kit and call a pro
I’m a DIYer, but I know when to stop.
A shop will sometimes charge a diagnostic fee, often around $100 to $200, credited to the repair. A mobile RV repair in Mesa tech will come to your rig, usualy with a trip fee plus labor. The tech also gets eyes on your roof in real sunlight and can walk the whole surface, finding leaks you’d never spot from the ground.
If the tear is bigger than a dinner plate or the decking has any give, I call a pro. The $200 to $800 shop patch is cheaper than the $5,000 membrane replacement you’ll need after a botched tape job lets water eat the structure. For anything else wrong with the rig, like an air conditioner that quit on the same trip, RV AC repair in Mesa is another call to make early.
My honest verdict on roof repair kits
For a small puncture and a sound deck, a quality RV roof repair kit is worth the $60 and the hour on your knees. It’s insurance against a rainy night and a stained ceiling. But I’d never trust a kit as a permanent fix on a roof I care about. The materials in the box are commodity, the primer is skimpy, and the instructions assume you already know what you’re doing.
Do this test befor you buy: press the roof around the tear with your thumb. If it feels like a drum, patch away. If it gives, put the kit back on the shelf and call for help. That simple check has saved my friends thousands in rotted decking.
Pull up a few repair shops or mobile techs near you and ask for a written estimate. If two pros tell you a kit won’t cut it, listen. If they say the deck is sound, buy the kit with the right material match and roll that tape like you mean it.
Related reading
FAQ
How much does an RV roof repair kit cost?
Most kits cost $40 to $90. That typically includes a small roll of butyl-backed seam tape, a tube of lap sealant, cleaner, and a roller. You're paying for convenience and matched materials. Buying the same parts separately usually costs $50 to $130 but gives you more tape and sealant for future repairs.
Can I use an RV roof repair kit on any roof material?
No. Kits are formulated for specific materials: EPDM rubber, TPO, fiberglass, or aluminum. Using the wrong kit can weaken the membrane or cause the patch to peel. Check the roof material in your owner's manual or have a tech identify it. Using a primer improves adhesion on most roofs.
Will a roof repair kit stop a leak permanently?
If the decking is sound and the tear is small, a correctly applied patch can last years. But if the decking is soft or water has already spread, a kit hides the damage. For a permanent fix on a structural issue, replace the damaged decking or call a professional.
How long does an RV roof repair kit patch last?
With proper surface prep and primer, a butyl tape patch can last five years or more on EPDM or TPO. Sun and weather eventually degrade all sealants. Inspect the patch at least twice a year and reseal any edges that lift. I've had patches still dry after seven years.
Do I need to remove the old sealant before using a repair kit?
Yes, for areas where the old sealant is loose or cracked. Clean the area with the kit's cleaner, peel away flaking sealant with a plastic scraper, then wipe again and apply the primer if included. New sealant bonds best to clean, stable roof material, not to chalky old sealant.
Is it safe to walk on my RV roof to apply a repair kit?
Only if your RV's manual says the roof is walkable, and even then walk near the edges or on the trusses. Many roofs flex in the center. Use a spotter, a sturdy ladder, and avoid wet or frosty roofs. If you can't safely reach the tear, hire a mobile tech to do the patch.
Find RV repair near you
Compare RV service centers and mobile techs in your city, then ask a few for a quote on the job.
Browse by stateOr jump to: RV roof repair · Denver, CO · Idaho Falls, ID · Longmont, CO